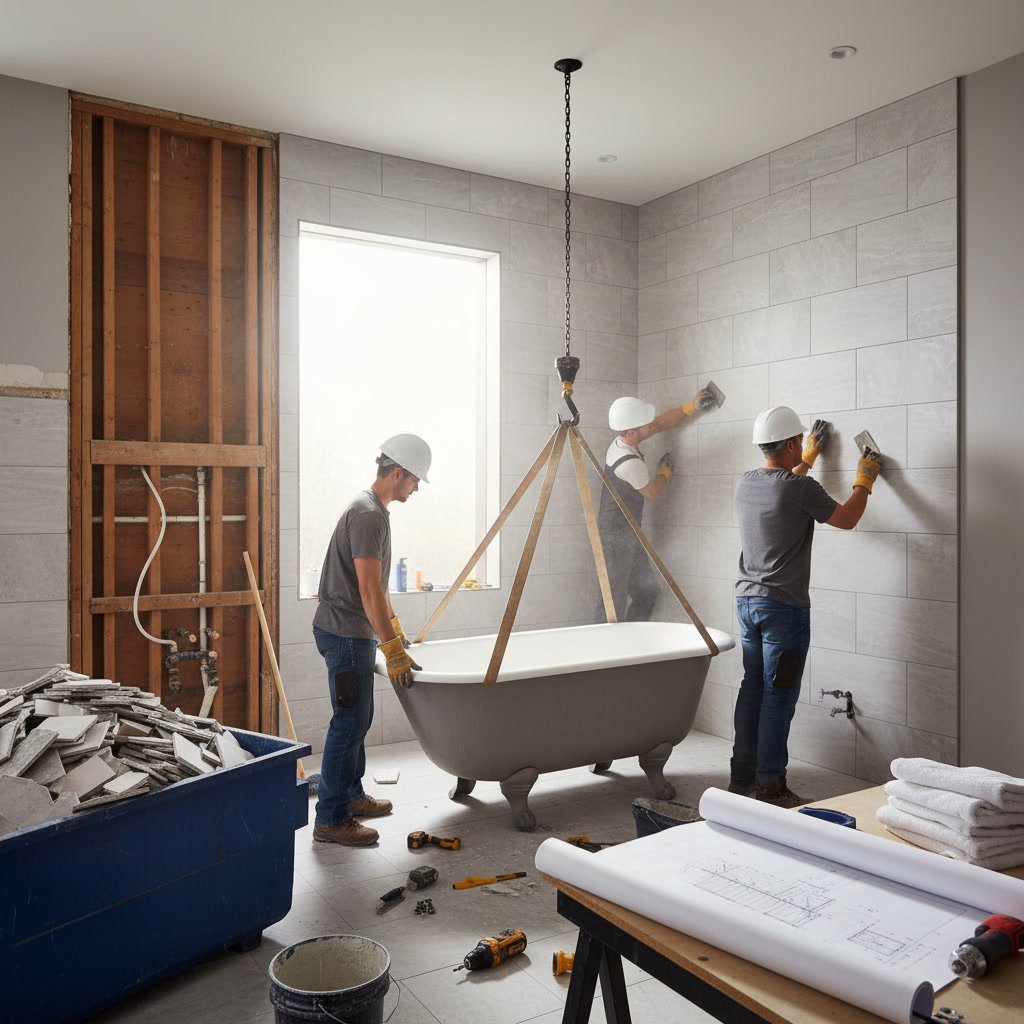
A professional bathroom remodel step by step follows a carefully planned sequence that typically spans four to six weeks. The process begins with design and demolition, moves through plumbing and electrical rough-in work, continues with fixture installation and finishing, and ends with final inspections and cleanup. Understanding each phase helps you prepare for the project timeline, budget accurately, and know what to expect as contractors work in your home.
Why Homeowners Choose Professional Bathroom Renovations
Bathrooms receive heavy daily use and face constant exposure to moisture, making them one of the first rooms to show wear. Old fixtures waste water, outdated layouts waste space, and worn finishes create cleaning challenges. A professional renovation addresses these issues while adding value to your property. According to recent remodeling surveys, bathroom updates return 60 to 70 percent of their cost at resale, making them one of the smarter home improvement investments.
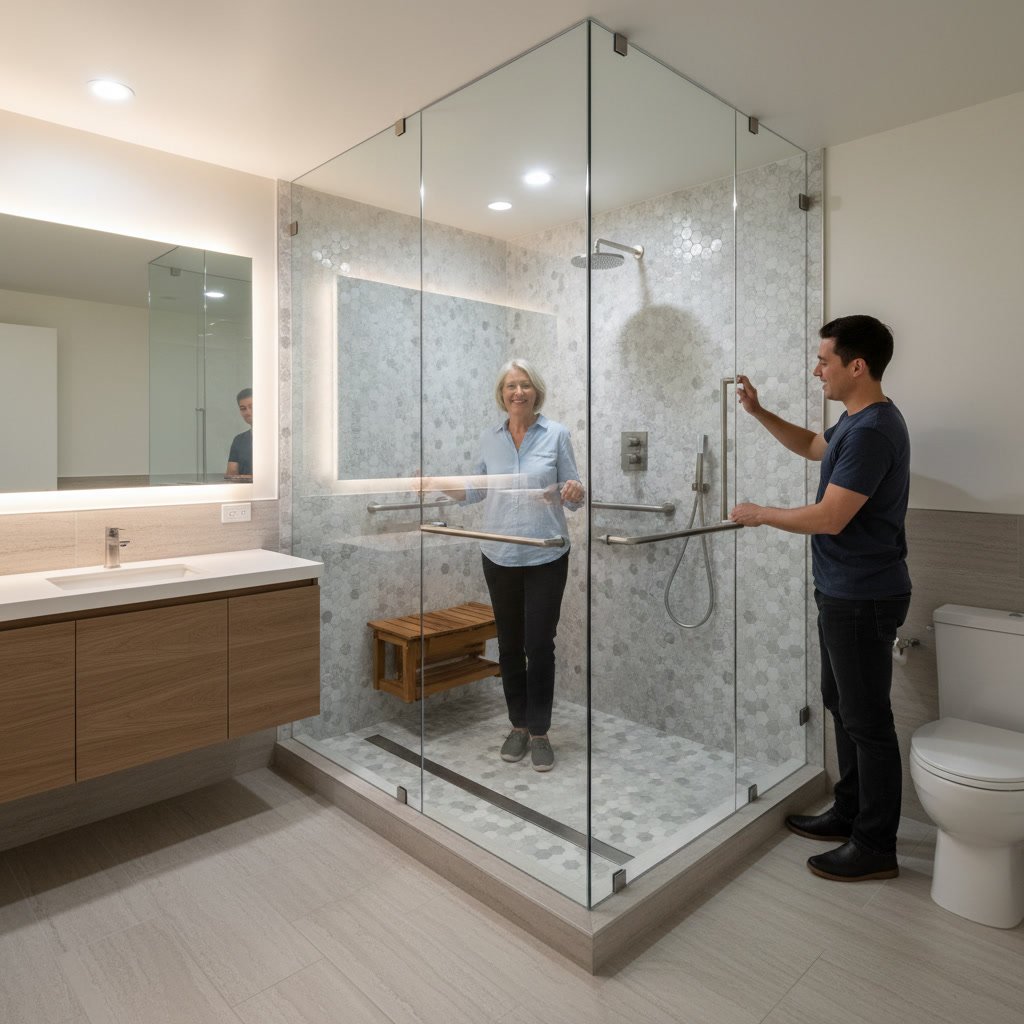
Beyond financial returns, renovated bathrooms improve daily comfort and safety. Modern walk-in showers eliminate tub-step hazards for aging homeowners. Improved ventilation prevents mold growth. Better lighting and storage make morning routines easier. These practical benefits explain why bathroom remodeling remains one of the most requested home services.
Planning and Design Work in Denver Homes
Every successful project starts with detailed planning. During this phase, you meet with contractors to discuss your goals, budget, and timeline. The contractor measures your existing bathroom, notes plumbing and electrical locations, and identifies structural considerations. Many older homes in the area have unique framing or outdated systems that require special attention during design.
Design decisions include fixture selection, tile choices, vanity style, lighting placement, and storage solutions. Your contractor provides samples and helps you balance aesthetic preferences with practical constraints. This phase also includes permit applications. Most jurisdictions require permits for work involving plumbing, electrical, or structural changes. Proper permitting protects you legally and ensures work meets building codes.

Demolition and Removal
Once permits arrive and materials are ordered, demolition begins. The contractor removes old fixtures, vanities, toilets, and shower enclosures. Workers then strip tile from walls and floors, often down to the studs and subfloor. Demolition reveals hidden issues such as water damage, mold, or outdated wiring that must be addressed before moving forward.
Proper disposal matters during this phase. Responsible contractors haul debris to appropriate facilities and separate recyclable materials. Demolition typically takes one to three days depending on bathroom size and the extent of existing finishes. Dust containment measures protect the rest of your home during this messy stage.
Rough-In Work for Plumbing and Electrical Systems
After demolition, plumbing and electrical contractors install rough-in work. Plumbers relocate or update supply lines and drain pipes to match your new layout. They install blocking in walls to support future fixtures. Water supply lines are sized correctly for flow demands, and drain lines are sloped properly to prevent clogs.
Electricians run new circuits for lighting, outlets, exhaust fans, and heated floors if included in your design. Modern bathrooms require GFCI protection on all outlets and proper circuit separation between high-draw items like space heaters and everyday lighting. Rough-in work must pass inspection before walls can be closed.
Here’s a critical insight most homeowners miss: during rough-in, request photographs of all plumbing and electrical runs before walls close up. These photos become invaluable years later if you need to locate a pipe for repairs or want to add fixtures. This simple step saves hours of exploratory cutting and guesswork down the road.
Framing Adjustments and Structural Updates
If your remodel changes the bathroom footprint or adds features like recessed shelving, framing work happens after rough-in inspections. Carpentry teams build new walls, frame shower niches, or reinforce floors for heavy tile or soaking tubs. Structural work also addresses any rot or damage discovered during demolition.
Proper framing ensures walls are plumb, corners are square, and surfaces are ready for tile or other finishes. Shortcuts during framing create problems later when tile won’t align or doors won’t close properly. Quality contractors take time to verify measurements and level surfaces before moving forward.
Installing Moisture Barriers and Cement Board
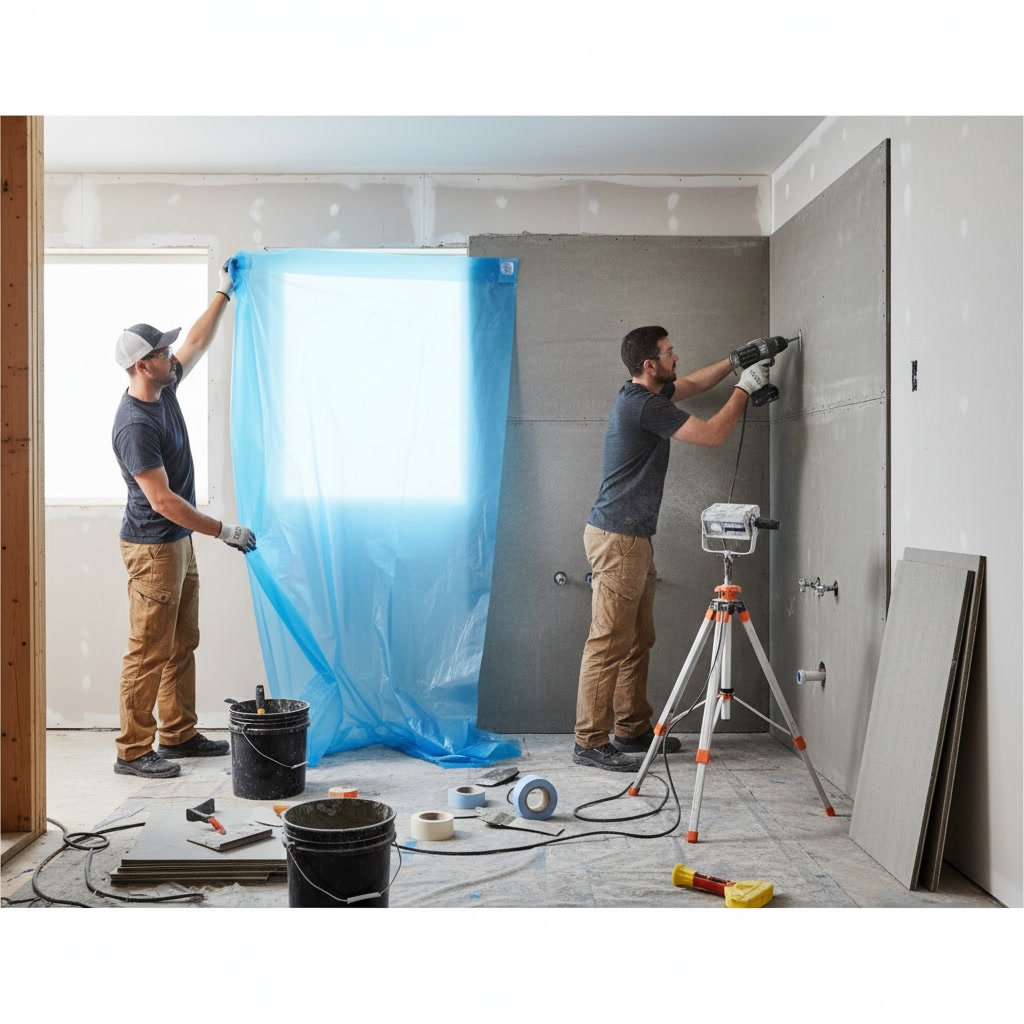
Water protection separates lasting bathrooms from problem bathrooms. After framing passes inspection, contractors install moisture barriers on walls and floors in wet areas. Modern systems include waterproof membranes that prevent water from reaching framing even if tile grout fails.
Cement board or similar tile backing products replace standard drywall in shower areas. These products resist moisture and provide stable substrate for tile adhesion. Proper installation includes sealed seams, correctly spaced fasteners, and integration with floor waterproofing. This layer of protection is invisible in the finished bathroom but critical for longevity.
Tile Installation on Floors and Walls
Tiling transforms the protected shell into a recognizable bathroom. Professional installers begin with floor tile, working from the center or most visible area outward. They use spacers to maintain consistent grout lines and level each tile to prevent lippage that creates trip hazards or cleaning difficulties.
Wall tile follows floor work, starting from the bottom and working upward. Skilled installers plan cuts to fall in less visible corners and ensure patterns align properly. Complex designs with accent strips or mosaic features require additional time. After tile sets for 24 to 48 hours, installers return to grout joints, seal grout lines, and polish surfaces.
Fixture and Vanity Installation
With tile complete, contractors install vanities, sinks, toilets, and shower fixtures. Vanities must be level and securely attached to wall studs. Plumbers connect supply lines and drains, test for leaks, and ensure proper function. Toilet installation includes new wax rings and proper sealing to prevent water damage.
Shower valves and trim pieces install according to manufacturer specifications. Proper valve depth and trim alignment ensure smooth operation and prevent leaks behind walls. Quality installers test water temperature mixing and flow at multiple settings before considering the work complete.
Finishing Touches Include Painting and Hardware
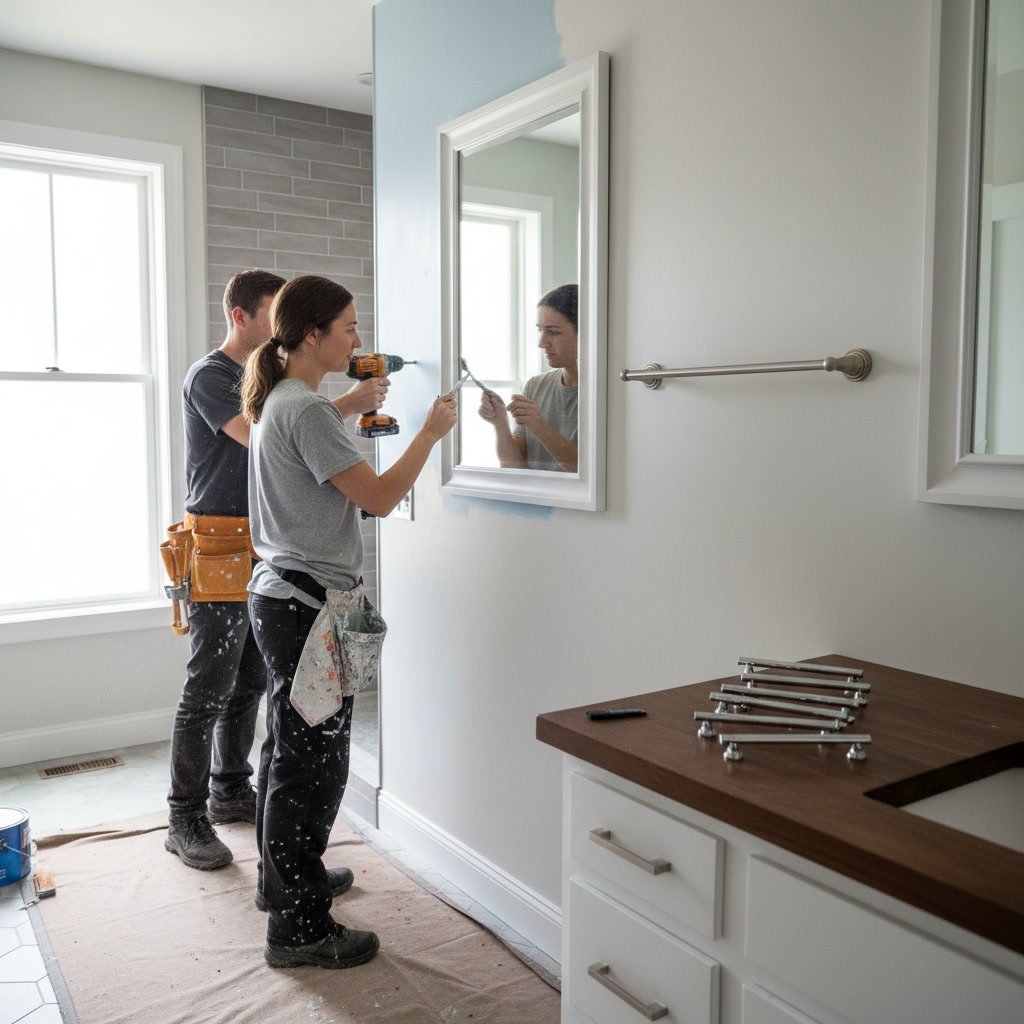
Near project completion, painting and finish work occur. Walls receive primer and paint selected during the design phase. Bathroom paint should offer mold and moisture resistance. Contractors also install trim, baseboards, and any decorative elements.
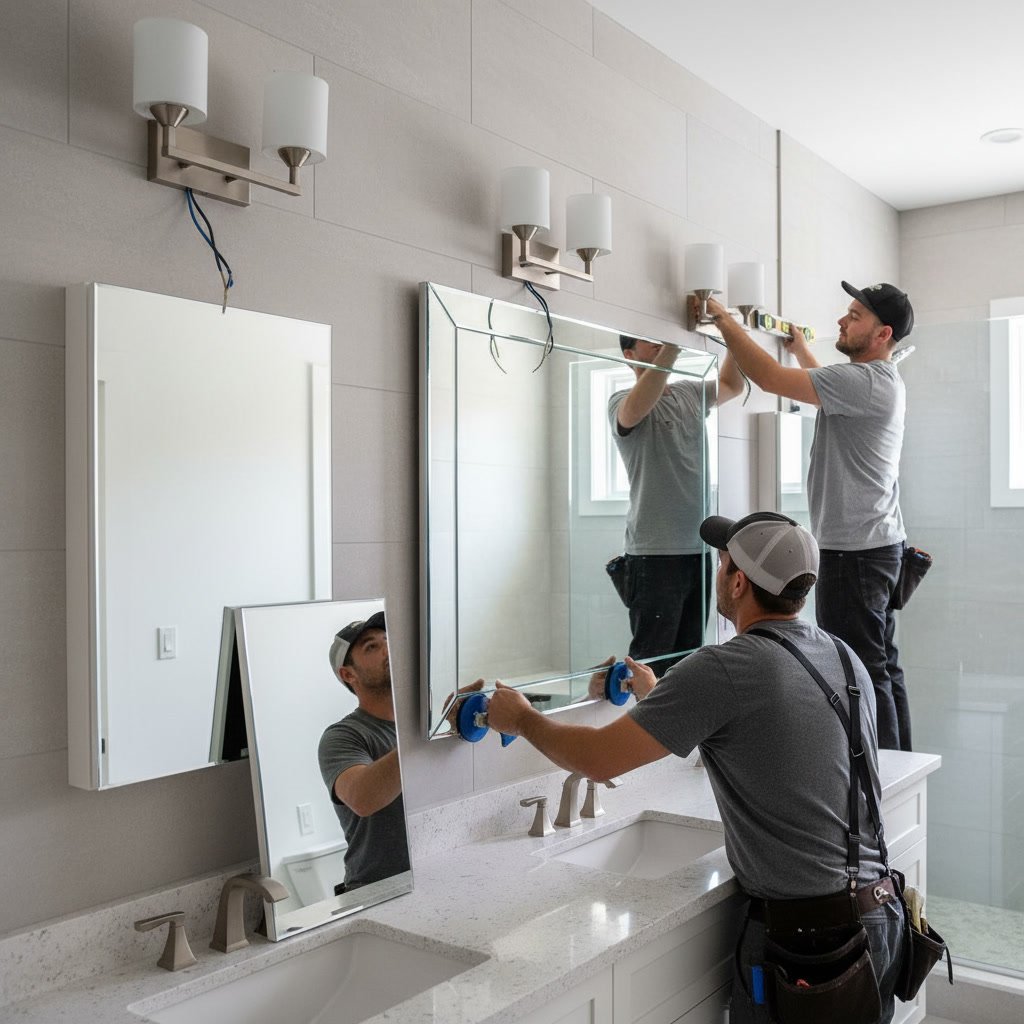
Hardware installation includes towel bars, toilet paper holders, robe hooks, and cabinet pulls. Mirror mounting, medicine cabinet installation, and light fixture attachment complete the functional elements. Attention to detail during this phase ensures everything aligns properly and operates smoothly.
Final Inspection and Project Walkthrough
Before considering the project complete, your contractor requests final inspections from local building departments. Inspectors verify that all work meets code requirements for plumbing, electrical, and ventilation. Passing inspection protects your home value and ensures safety.
After official inspections, the contractor conducts a walkthrough with you. This meeting reviews all completed work, demonstrates fixture operation, and addresses any concerns. Contractors provide care instructions for new materials and warranty information for fixtures. This is your opportunity to note any touch-up work needed before final payment.
Your Bathroom Transformation Starts With Expert Planning
Understanding the renovation sequence helps you partner effectively with your contractor and set realistic expectations. Each phase builds on the previous work, and rushing any step compromises the finished product. Quality contractors follow this systematic approach because it produces bathrooms that function properly and last for decades.
The difference between an adequate bathroom and an exceptional one often comes down to expertise during the invisible phases like waterproofing and rough-in work. Expert Guys Construction LLC brings over 10 years of construction experience to every project, ensuring that both the hidden infrastructure and visible finishes meet the highest standards. If you’re ready to transform your bathroom with a team that understands every step of the process, reach out at +18457161595 to discuss your project and schedule a consultation.