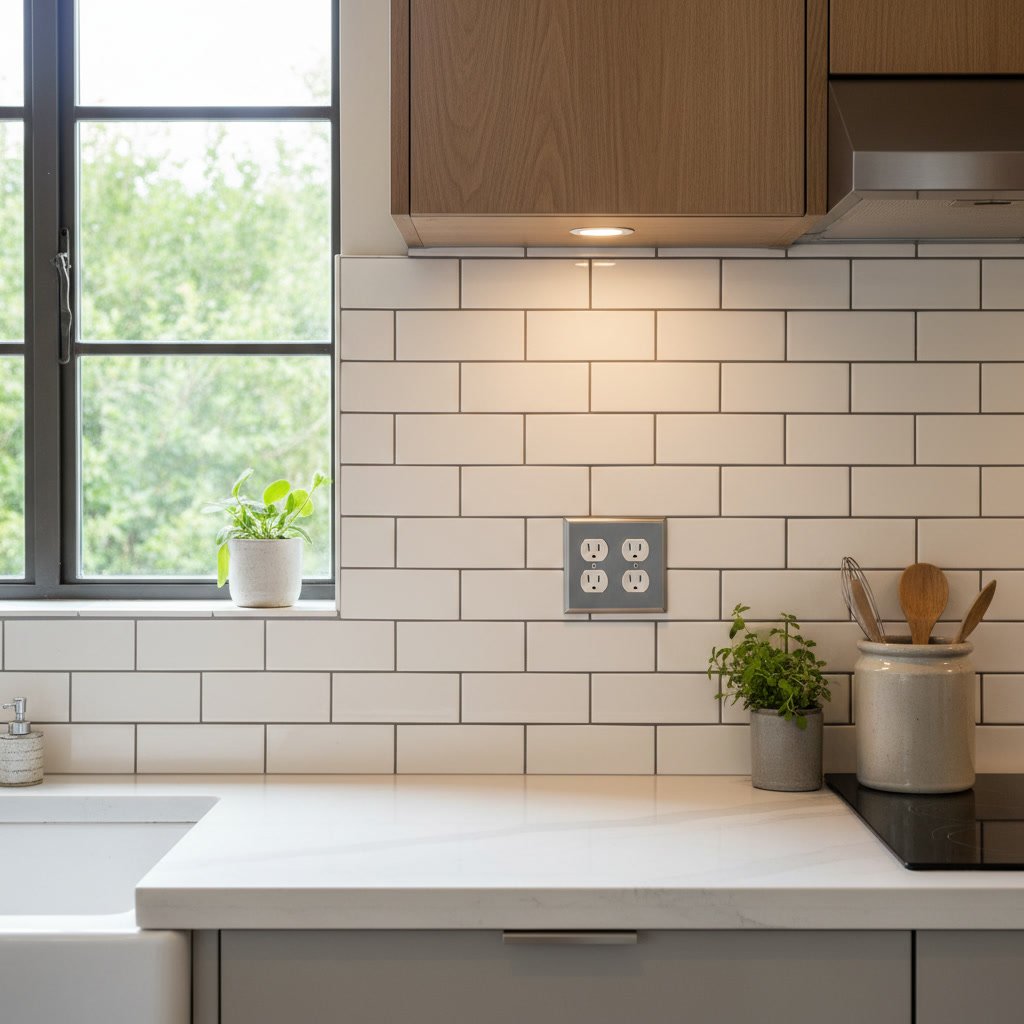
Kitchen backsplash tiling requires precise cutting and fitting around electrical outlets, windows, and corners to create a seamless appearance. Professional installers measure each obstacle, cut tiles with specialized tools, and leave proper spacing for grout and electrical safety. The process involves template-making, score-and-snap or wet-saw cutting, and careful layout planning to maintain pattern continuity across interruptions.
Why Obstacles Make or Break Your Backsplash
The difference between an amateur tile job and professional work shows most clearly around outlets, windows, and corners. These areas test an installer’s skill because they demand accuracy within one-sixteenth of an inch. A poorly cut outlet opening creates gaps that collect moisture and grease. Corners that don’t align properly throw off the entire pattern and create lippage where tiles meet at different heights.
Most backsplash failures happen at transitions and penetrations. Water seeps behind tiles through oversized outlet cuts. Cracked tiles appear at corners where installers forced pieces into place instead of cutting them properly. These problems cost more to fix later than doing the work correctly from the start.
Planning Your Layout Before Setting a Single Tile
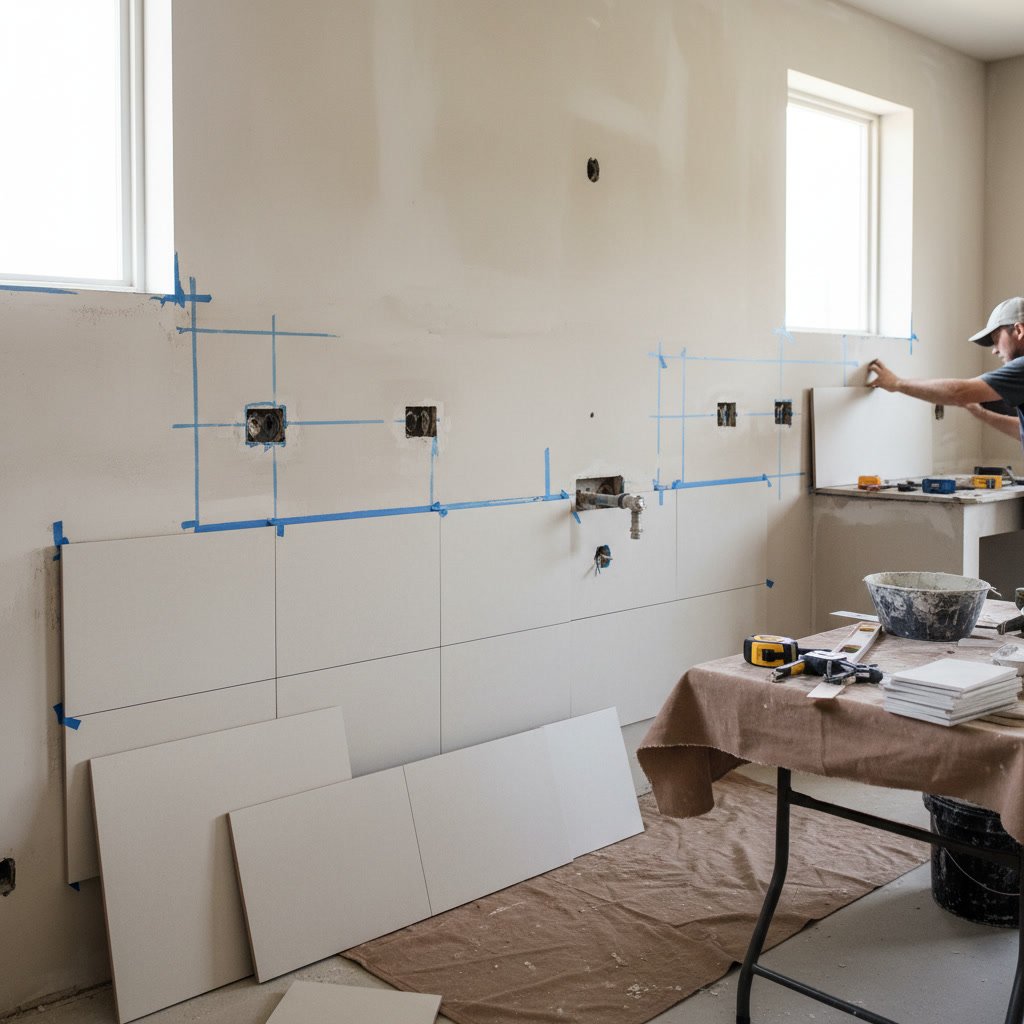
Smart installers map the entire backsplash on paper before mixing mortar. They measure from outlets to corners, mark window edges, and calculate how tile courses will land at each obstacle. This planning reveals whether you’ll end up with tiny slivers at edges or awkward cuts that break the pattern.
The best approach centers your pattern on the most visible wall section, typically between the range and hood. From that focal point, you work outward and adjust cuts at the less-visible edges. When your layout puts a grout line directly through an outlet center, shift the entire pattern by half a tile width. That small change means cleaner cuts and better symmetry.
Measuring and Marking Outlet Cutouts
Accurate outlet cuts start with a simple trick: rub chalk or lipstick on the outlet edges, press your tile against the wall in position, and the outlet shape transfers onto the tile back. For more precision, measure from the last full tile to each outlet edge, then transfer those measurements to your new tile.
Always add one-eighth inch around the entire outlet opening. This gap accommodates the outlet cover plate and prevents tile edges from touching the electrical box. Cuts that come too close to the box create code violations and potential shock hazards. The cover plate should overlap tile edges by at least one-quarter inch on all sides.
Cutting Techniques for Different Tile Materials
Ceramic and porcelain tiles need different tools. A manual snap cutter handles straight cuts in ceramic up to half-inch thick. For cutouts and curves, a wet saw with a diamond blade gives clean edges without chipping. Small notches require a tile nipper, which breaks away tiny pieces along scored lines.
Glass and natural stone demand gentler treatment. Use a wet saw at slow feed rates to prevent cracking. Score glass tiles on the smooth side, never the textured back. Stone tiles benefit from a continuous-rim diamond blade that reduces chipping at cut edges.
Professional-grade angle grinders with diamond blades handle complex curves around pipes and oddly shaped windows. The key is multiple shallow passes instead of trying to cut through in one aggressive push. This method keeps heat down and edges clean.
Working Around Electrical Outlets in Denver Homes
Local electrical codes require specific clearances between tile and outlet boxes. The National Electrical Code mandates that outlet boxes sit flush with the finished wall surface. When adding tile to a kitchen, this often means installing box extenders so outlets don’t recess behind your new backsplash.
Mark your cuts on the tile front using painter’s tape, which prevents marker bleed and gives you a clear cut line. Drill corner holes first with a carbide or diamond-grit bit, then connect them with a wet saw or oscillating multi-tool. The corner holes prevent cracks from propagating across the tile face when you make your connecting cuts.
Our electrician services often coordinate with tile installations to ensure outlets meet code after tile thickness changes the wall plane. This coordination prevents the common mistake of tiles covering outlet edges or outlets projecting too far from the wall.
Inside Corners Versus Outside Corners
Inside corners, like where your backsplash meets a side wall, hide small imperfections. Butt tiles together at a 90-degree angle and fill the joint with grout or caulk. These corners rarely need perfectly cut angles because the joint material bridges small gaps.
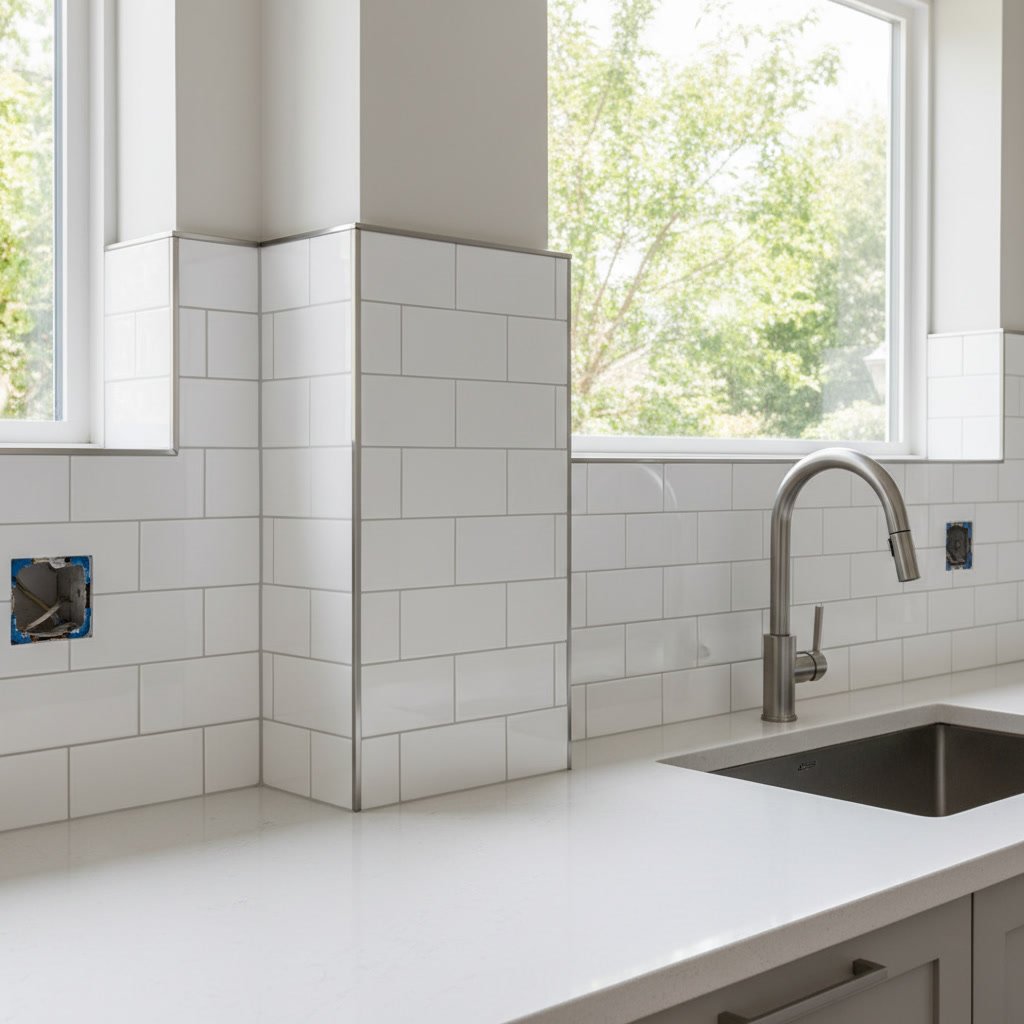
Outside corners, such as a kitchen peninsula end or a bump-out window frame, demand precision. You have three options: miter the tiles at 45 degrees for a seamless look, use bullnose tiles with one finished edge, or install metal edge trim. Mitered corners look best but require a wet saw with an angle guide and perfect cuts.
Bullnose tiles solve the problem with minimal cutting. Place the bullnose piece on the visible outside face and butt a field tile against it from the return wall. This method works well with tiling projects where you want a softer, more traditional edge detail.
Window Sill and Frame Transitions
Windows interrupt your backsplash plane and create multiple edge conditions. The sill itself usually sits perpendicular to your backsplash, requiring tile cuts that fit snugly against the sill underside. Measure the sill depth and its angle, since many sills slope slightly for water drainage.
Tiles meeting a window frame need a small expansion gap, typically one-eighth inch, filled with color-matched caulk rather than grout. This flexible joint accommodates seasonal wood movement without cracking tiles or grout lines. Use painter’s tape on both the frame and tile during caulking to create a professional bead.
The vertical sides of window openings often require ripped tiles, meaning you cut tiles lengthwise to fit the remaining space. A quality wet saw makes these cuts, and you’ll want to place cut edges toward the window frame where they’re less visible. Full tile edges should face into the room for the cleanest appearance.
Maintaining Pattern Flow Across Interruptions
Subway tiles, hexagons, and any patterned tile present a puzzle at outlets and windows. The goal is making the pattern look intentional on both sides of the interruption. This sometimes means adjusting your starting point so the pattern aligns symmetrically around a centered window or range.
For running bond patterns like subway tile, maintain your offset across outlets by planning which course height the outlet falls on. If an outlet sits mid-tile, you’ll need to cut two tiles, one above and one below. Smart installers adjust their starting course height by a half-inch or so to avoid splitting tiles at every outlet.
Complex mosaic sheets require a different approach. Cut through the mesh backing between individual mosaic pieces rather than through the pieces themselves whenever possible. This preserves the factory spacing and maintains the pattern integrity right up to your obstacle edges.
Grout Lines at Transitions and Edges
Grout joints at corners should match your field grout width, typically one-eighth to three-sixteenths inch for wall tiles. Inconsistent grout lines telegraph poor workmanship. Use tile spacers even at corners and edges to maintain uniform joints throughout your installation.
Where tile meets a different material like wood trim or metal window frames, skip the grout and use caulk. Grout is rigid and cracks when dissimilar materials expand at different rates. Color-matched caulk flexes with movement while maintaining a consistent appearance with your grout lines.
The grout joint around outlet cover plates is actually air. Remember that one-eighth-inch gap you cut around the outlet box. The cover plate bridges this gap, so you never grout or caulk directly against electrical components. This air space provides the required electrical safety clearance and allows for future outlet service without disturbing your tile work.
Common Mistakes That Create Problems Later
Forcing tiles into corners instead of cutting them properly causes immediate cracks and lippage. Tiles need consistent mortar coverage and shouldn’t bridge gaps with adhesive alone. If your corner isn’t plumb or square, scribe and cut tiles to fit the actual wall condition rather than assuming everything is perfect.
Cutting outlet openings too large creates safety hazards and looks unprofessional. The opposite problem, cutting too tight, prevents proper outlet box attachment and can crack tiles during cover plate installation. That one-eighth-inch perimeter clearance is the goldilocks zone, the right compromise between electrical safety and finished appearance.
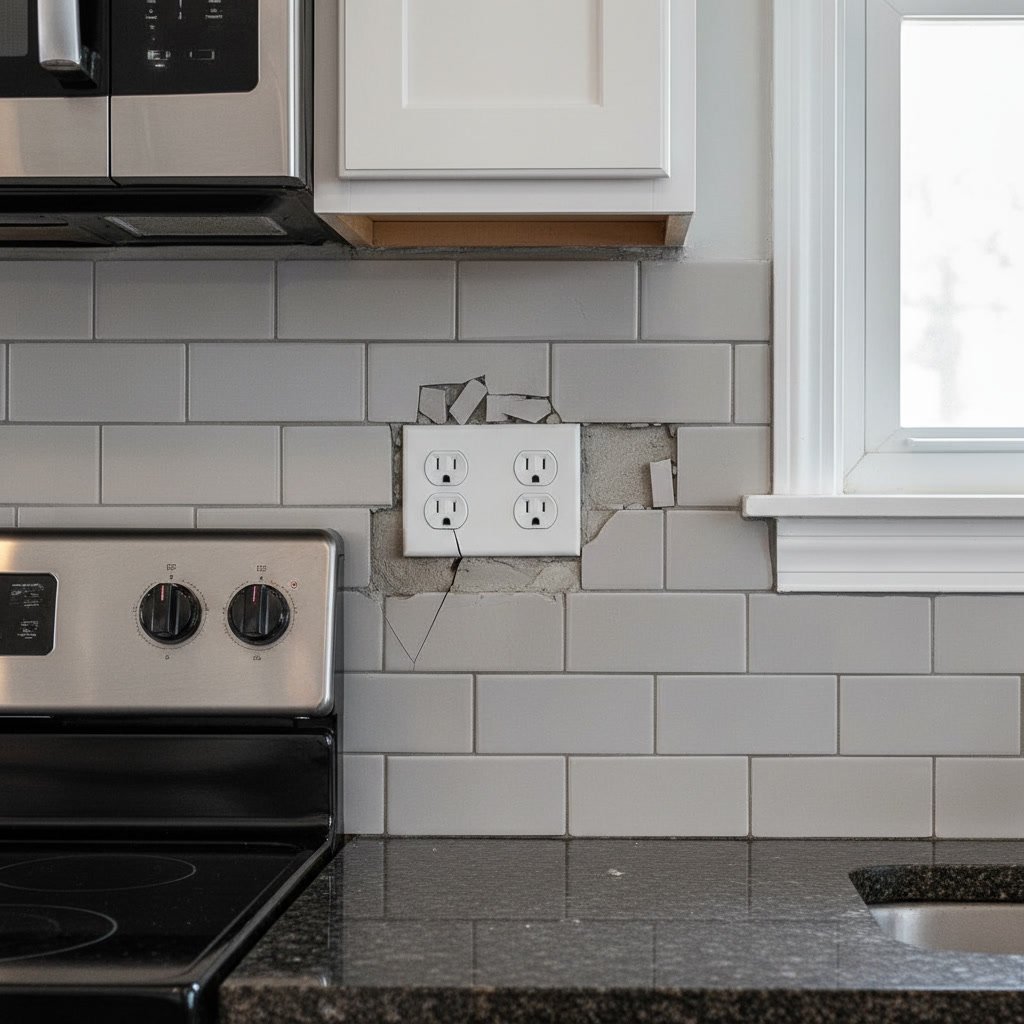
Ignoring the tile layout in relation to outlets often results in tiny tile pieces at edges. Any cut piece smaller than half a tile width looks like a mistake. Proper planning shifts your layout to avoid these slivers, even if it means slightly wider cuts at less visible locations.
Professional Results for Your Kitchen Project
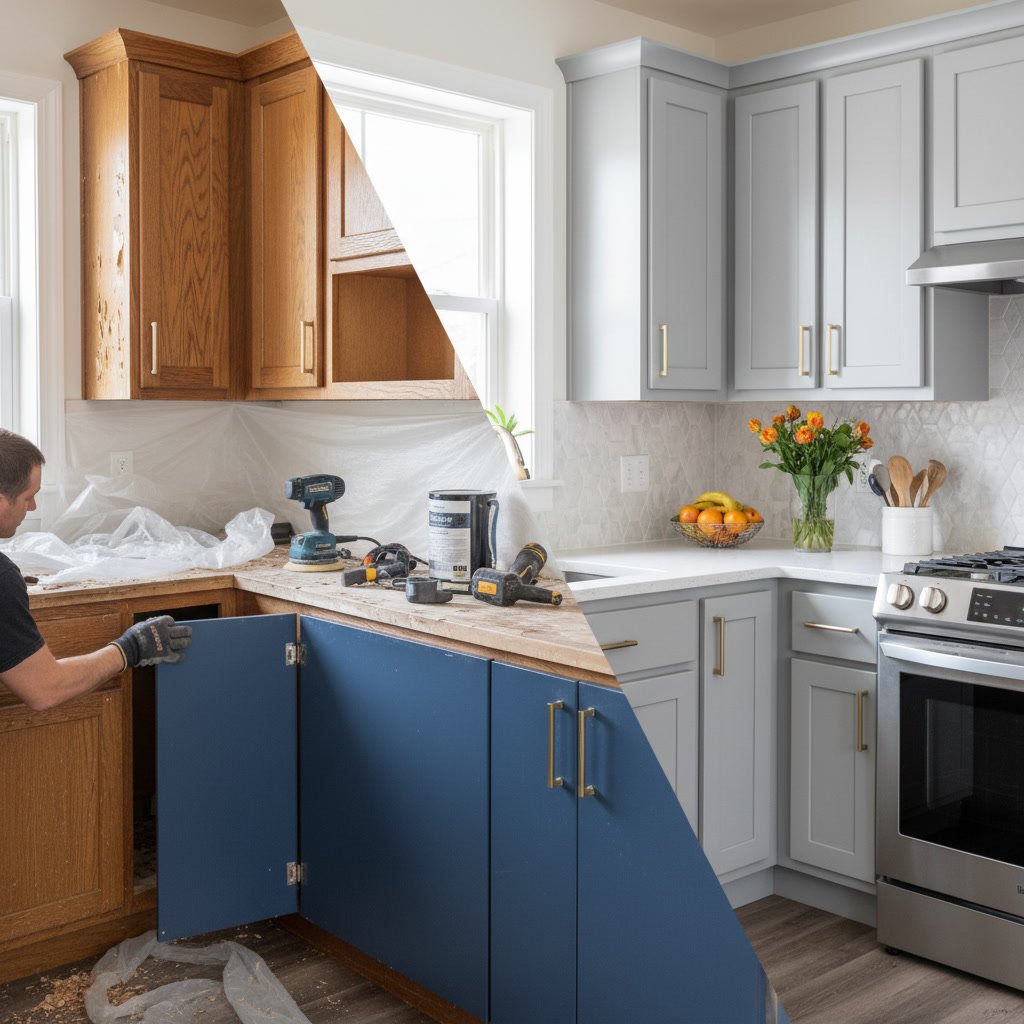
Quality backsplash installation transforms a kitchen’s appearance while protecting walls from water and grease. The difference between acceptable and exceptional work shows in how cleanly tiles navigate around outlets, windows, and corners. These details require specialized tools, accurate measurement techniques, and experience reading how different tile materials respond to cutting.
Similar to techniques used in bathroom remodeling projects, kitchen tile work demands attention to waterproofing and proper substrate preparation. The skills translate across different rooms, but kitchens add the complexity of more electrical penetrations and larger uninterrupted wall sections where pattern errors become obvious.
Expert Guys Construction LLC brings over a decade of construction experience to every kitchen remodeling project. Our approach ensures tiles fit precisely around every obstacle while maintaining pattern integrity and meeting electrical codes. The backsplash becomes a focal point that enhances your kitchen rather than a reminder of cutting compromises and misaligned patterns.
Transform your kitchen with professional tile installation that handles every detail correctly the first time. Expert Guys Construction LLC serves homeowners throughout the Denver metro area with quality craftsmanship backed by years of experience. Reach out at +18457161595 to discuss your kitchen project and receive a detailed assessment of your backsplash installation needs.