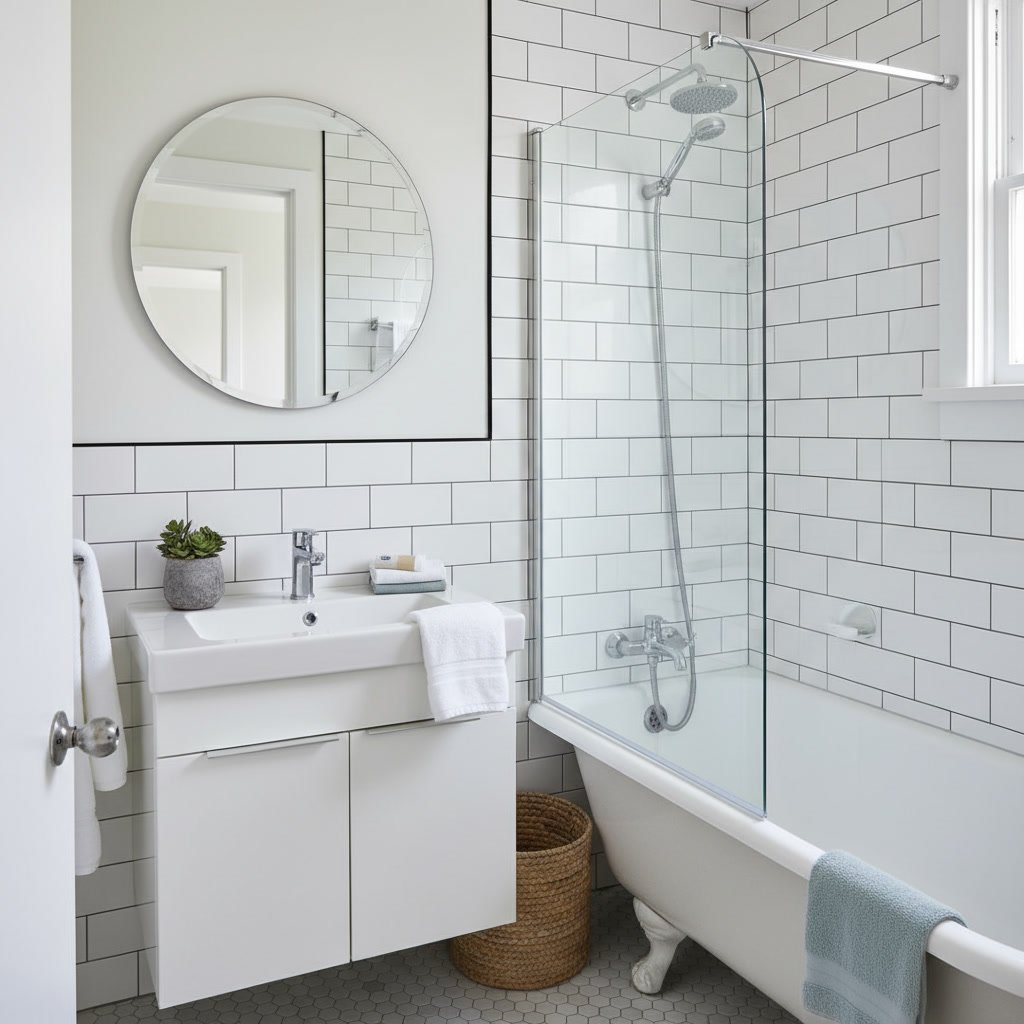
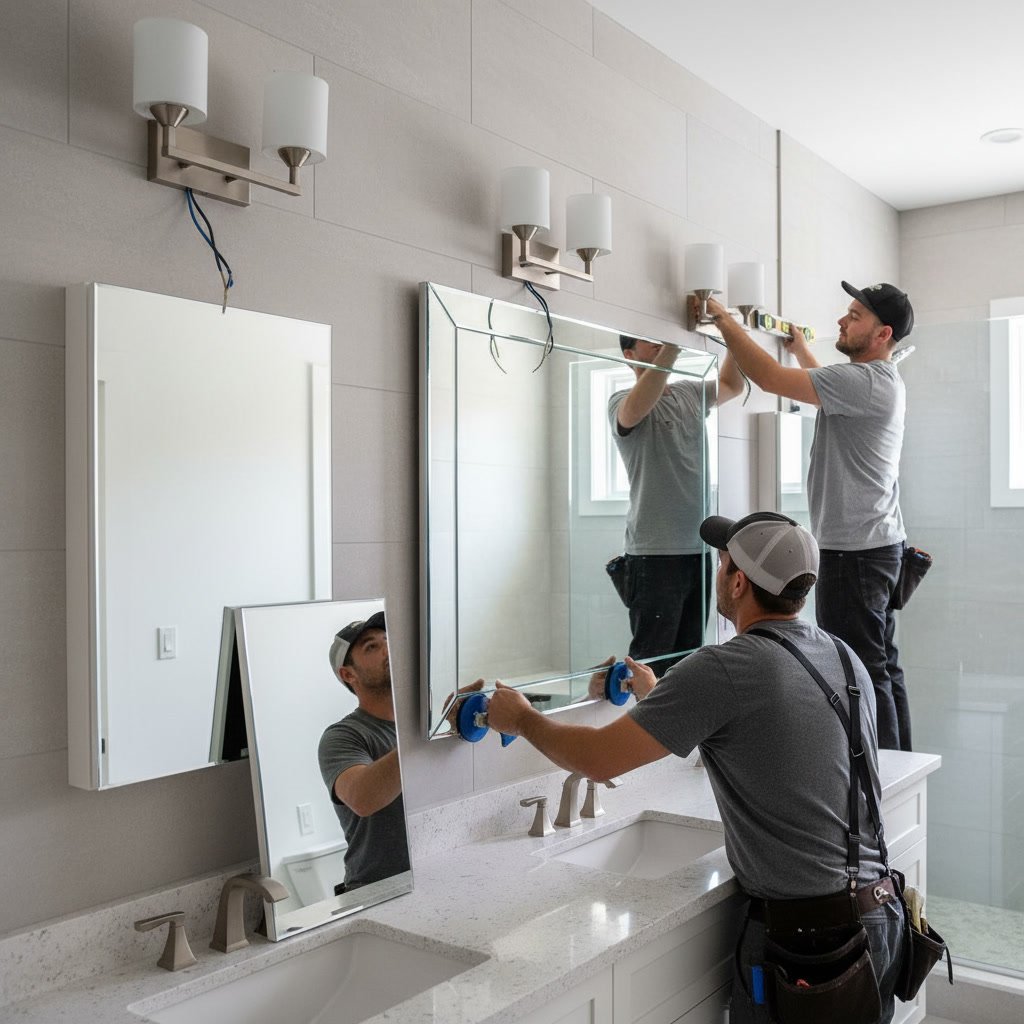
Installing a bathroom mirror around existing lighting fixtures and medicine cabinets requires careful planning, proper measurements, and coordinated electrical work to create a functional and attractive result. Bathroom mirror installation involves more than just hanging a reflective surface on the wall. The mirror must work harmoniously with vanity lights, wall sconces, and recessed or surface-mounted medicine cabinets while maintaining safe electrical clearances and proper visual balance.
Why Mirror Placement Matters in Bathroom Design
The mirror serves as the focal point of most bathroom vanities. Its placement determines how well you can see yourself for grooming tasks and how light distributes throughout the space. A mirror positioned too high leaves you staring at your chest. Too low and tall family members lean uncomfortably. The standard height places the mirror center at 60 to 65 inches from the floor, but your specific measurements depend on user height and vanity dimensions.
Light fixtures create additional complexity. Wall sconces flanking a mirror need 36 to 40 inches of center-to-center spacing for a single sink vanity. Overhead vanity lights must clear the mirror top by at least three to four inches to prevent harsh shadows and glare. These spacing rules affect mirror size and position, especially in bathrooms with limited wall space.
Understanding the Relationship Between Mirrors and Lighting Fixtures
Electrical boxes for light fixtures are typically installed 75 to 80 inches above the finished floor for overhead vanity lighting. Side sconces usually sit at 60 to 70 inches, roughly at eye level when standing. Your mirror must fit within or around these fixed points unless you plan to relocate the electrical work entirely.
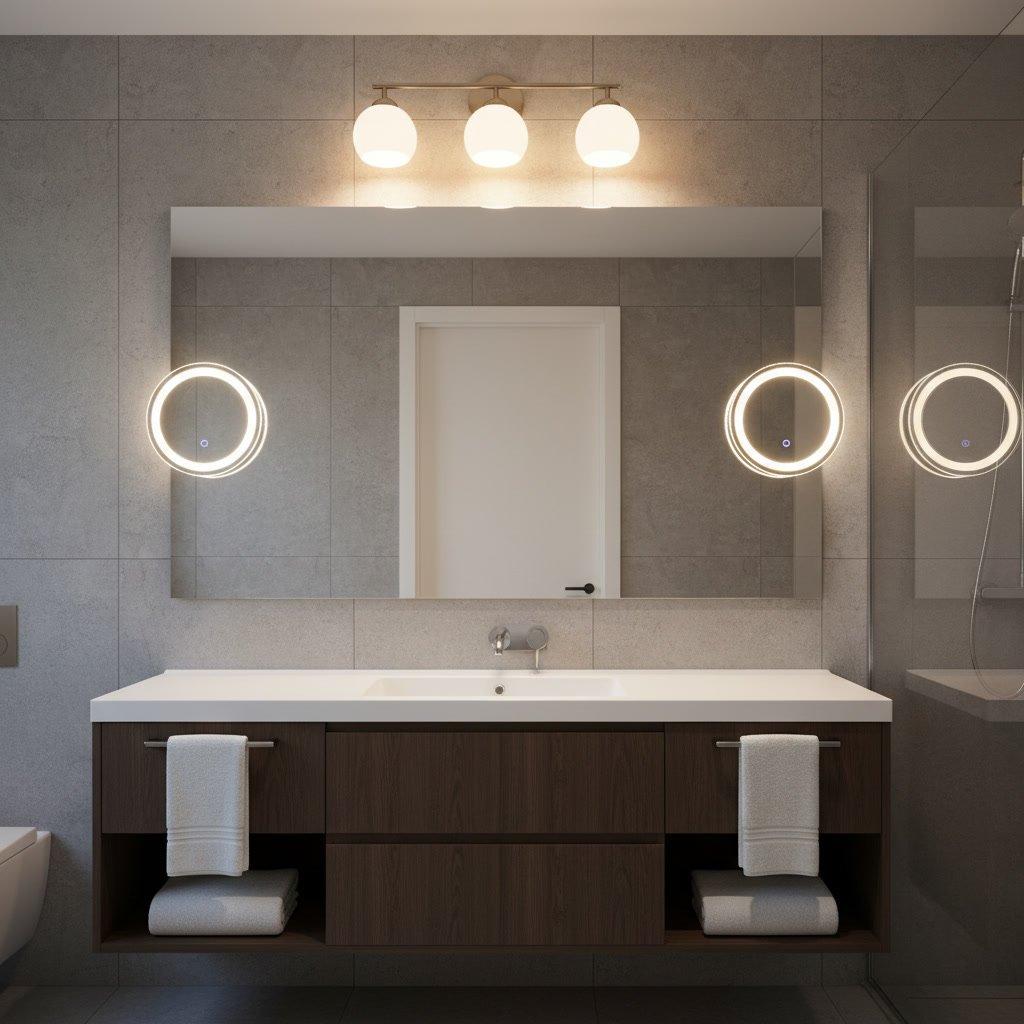
Mirrors can extend behind light fixtures if you use backplates or mounting bars that project forward from the wall surface. This approach works well with modern floating mirrors or frameless designs. Framed mirrors typically need to fit between fixtures rather than behind them, which limits your size options but creates cleaner visual lines.
The wiring and junction boxes behind your wall remain permanent obstacles unless you bring in an electrician to relocate them. Moving electrical boxes adds cost and requires patching drywall, but it gives you complete freedom in mirror selection and placement.
Medicine Cabinet Integration With Mirror Layouts
Medicine cabinets come in three configurations: recessed between wall studs, surface-mounted on the wall, or mirrored units that serve double duty. Recessed cabinets sit flush with the wall and require cutting into drywall during installation. Surface-mounted versions project several inches into the room but install more easily. Mirrored medicine cabinets eliminate the need for a separate mirror but limit your design flexibility.
If you have an existing recessed medicine cabinet and want a separate decorative mirror, you face a choice. You can remove the cabinet and patch the wall opening, which creates a clean slate but requires drywall repair and painting. Or you can work around it by selecting a mirror configuration that incorporates or frames the cabinet location.
Some homeowners install a large mirror that spans the entire vanity width, then mount a small surface cabinet directly over the mirror in one section. This works only with sturdy mirror backing and proper anchoring into wall studs. The alternative involves using multiple smaller mirrors arranged to leave space for a centered or offset medicine cabinet.
Step-by-Step Process for Installing Mirrors Around Existing Fixtures
Measure the available wall space first. Note the exact position of light fixture electrical boxes, switches, outlets, and any medicine cabinet openings. Measure from fixed reference points like the vanity top, side walls, and ceiling rather than trusting that your walls are perfectly square.
Select your mirror based on these measurements, leaving clearance around light fixtures. Most building codes require at least a quarter inch between the mirror edge and any electrical fixture, though three to six inches looks better visually and prevents accidental contact during cleaning.
Locate wall studs using a stud finder. Mirrors over 20 pounds need anchoring into studs or blocking rather than relying on drywall anchors alone. Mark your mounting points with painter’s tape to visualize the final position before drilling.
Install the mounting hardware according to the mirror type. Clips, J-bars, French cleats, or adhesive mounts each require different techniques. Heavy mirrors need two people for safe handling and alignment. Check level in both directions before final securing.
The entire process typically takes two to four hours depending on mirror weight, mounting complexity, and whether you need to add blocking or adjust fixtures. This work often happens during a larger bathroom remodeling project where electrical and wall surfaces are already being updated.
Common Installation Challenges in Denver Bathrooms
Older homes often have electrical boxes positioned for builder-grade mirrors that no longer match modern design preferences. Moving these boxes requires cutting into walls, rerouting wire, installing new boxes, and repairing surfaces. Expert Guys Construction LLC regularly handles these updates as part of comprehensive bathroom renovations.
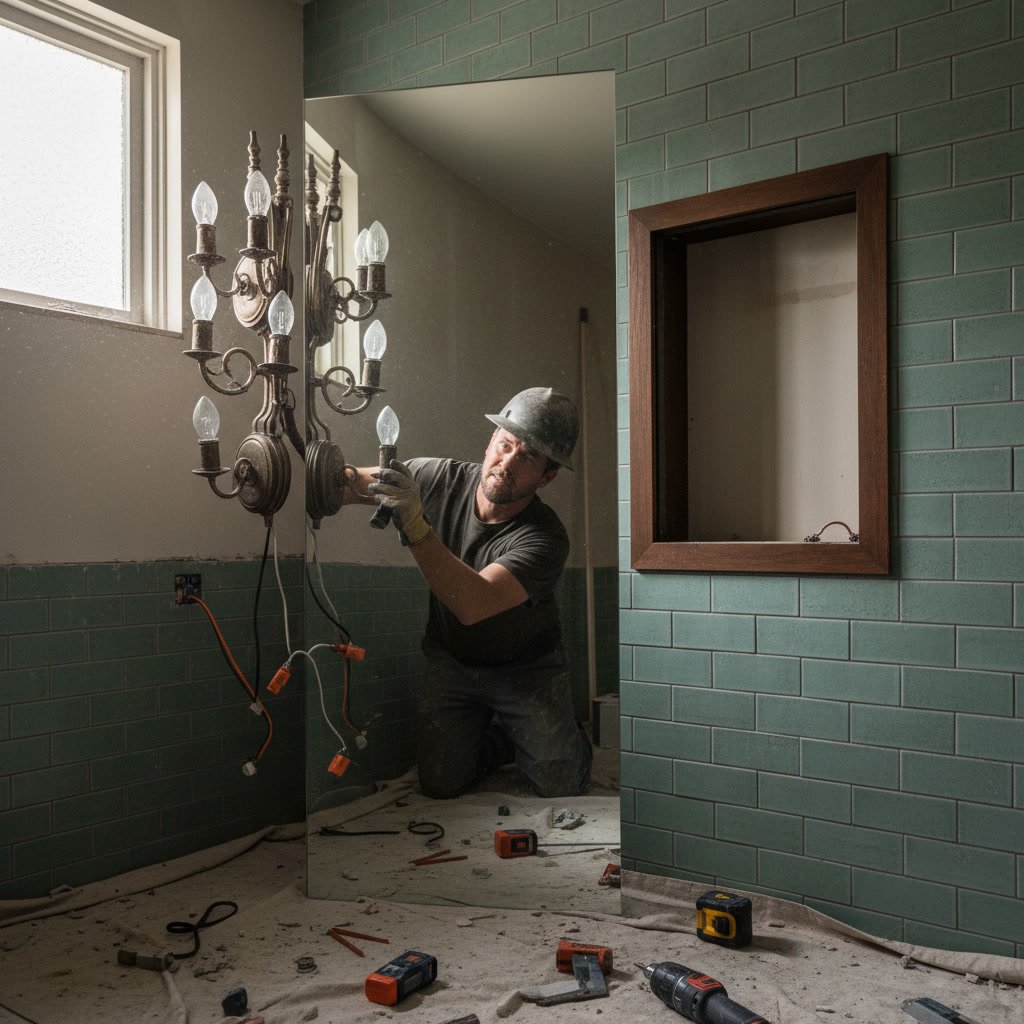
Plaster walls in historic properties present anchoring difficulties. Standard hollow-wall anchors fail in plaster, and drilling can crack the brittle material. Professional installers use specialized plaster anchors or install backing boards that distribute weight across a larger surface area.
Tile backsplashes behind vanities require careful drilling with diamond or carbide bits to prevent cracking. You cannot use adhesive mirror mounts over tiling because the uneven grout lines prevent secure bonding. Mechanical fasteners become necessary, which means visible mounting hardware or a frame that conceals the attachment points.
Coordinating Mirror Size With Vanity Dimensions
A mirror should span 70 to 80 percent of the vanity width for balanced proportions. Narrower mirrors look undersized and waste wall space. Wider mirrors that extend beyond the vanity edges can work in specific design styles but may interfere with adjacent walls, doors, or shower enclosures.
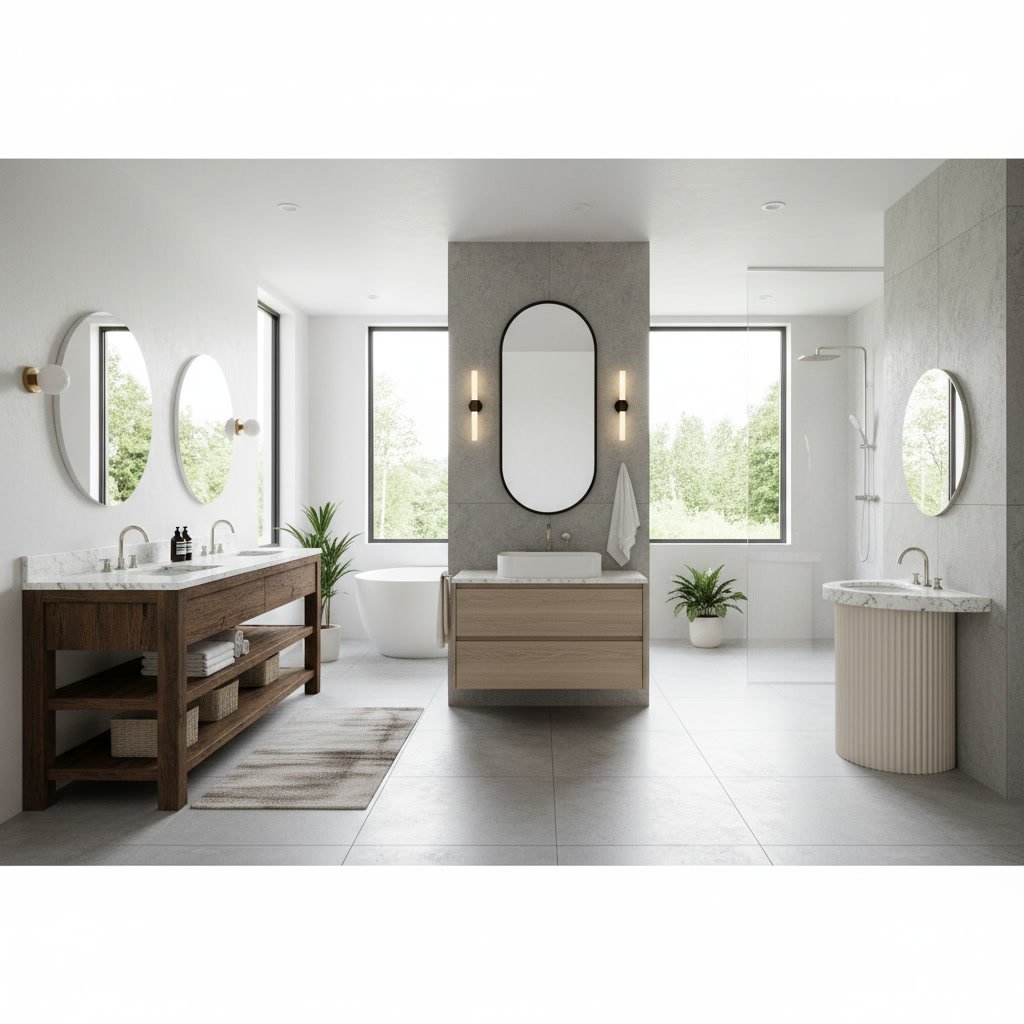
Double vanities create options for one large mirror or two separate mirrors. A single spanning mirror costs less and creates visual continuity. Dual mirrors define individual spaces and allow different user heights if family members have significant height differences. The choice affects lighting placement since two mirrors require four sconces instead of two.
Vertical proportion matters as much as width. Standard mirrors run 24 to 36 inches tall. Taller mirrors reaching toward the ceiling make small bathrooms feel larger but may conflict with ventilation fans, recessed lights, or upper cabinets. Measure your clear wall height before selecting mirror dimensions.
Electrical Safety Considerations During Installation
Bathroom electrical codes require GFCI protection for all outlets and strict clearances from water sources. Mirrors must not contact live electrical components or cover junction boxes that need access for maintenance. If your mirror would cover an electrical box, that box must be relocated before installation.
Light fixtures generate heat that can damage mirror backing or adhesives over time. Leave at least two inches between the mirror surface and any light bulb, more for high-wattage incandescent fixtures. LED lights run cooler and create fewer clearance concerns.
Never drill into walls without first checking for electrical wiring behind the surface. Studs typically provide safe drilling locations, but wiring sometimes runs horizontally at outlet and switch heights. A non-contact voltage tester or hiring a licensed professional prevents dangerous mistakes.
When to Replace Rather Than Work Around Existing Elements
Sometimes the best solution involves replacing outdated medicine cabinets or relocating poorly positioned light fixtures. If your existing setup creates an awkward mirror layout, the cost of updating those elements may be worthwhile compared to compromising on mirror design.
Recessed medicine cabinets from the 1980s often measure 14 by 18 inches, too small for modern storage needs. Replacing with a larger recessed unit or switching to a separate mirror plus wall-mounted storage cabinet improves both function and aesthetics. This work requires opening the wall, possibly reframing the opening, and painting to match.
Light fixture replacement makes sense when existing fixtures are outdated, damaged, or positioned incorrectly. Modern LED vanity lights provide better illumination with lower energy costs. If you are already investing in a quality mirror, updating the lighting at the same time creates a cohesive result without needing to revisit the project later.
Mirror Mounting Methods and Their Trade-Offs
Adhesive mounting uses specialized mirror mastic applied to the back surface. This method works only on smooth, flat walls and creates a permanent installation that damages drywall if later removed. Adhesive alone supports mirrors up to about 30 pounds. Heavier mirrors need mechanical fasteners in addition to adhesive.
Clip systems use small metal clips at the mirror edges, visible from the front. They provide strong support and allow mirror removal but show as part of the design. Clips work well for frameless mirrors in modern bathrooms where minimal hardware suits the aesthetic.
French cleat systems use interlocking beveled strips on the wall and mirror back. They provide excellent weight support and allow easy leveling and removal. The cleat adds about an inch of projection from the wall, which can interfere with swing-out medicine cabinets or tight door clearances.
Channel or J-bar mounting places a metal channel at the bottom edge with clips or adhesive at the top. This combination supports heavy mirrors securely while allowing some adjustment during installation. The bottom channel must align perfectly level since it determines the mirror’s final position.
Professional Installation Versus DIY Approaches
Simple mirror installations with lightweight mirrors and straightforward mounting fall within most homeowner skill levels. You need basic tools, careful measurements, and an extra set of hands for larger pieces. Projects involving electrical relocation, tile drilling, or mirrors over 40 pounds benefit from professional expertise.
Custom mirrors cut to specific dimensions around existing obstacles require precise field measurements that account for wall irregularities. A quarter-inch measurement error creates visible gaps or prevents proper fit. Professionals measure, template, and verify dimensions before ordering custom glass, reducing expensive mistakes.
The time investment matters too. A project you estimate at three hours might stretch to eight when you encounter unexpected challenges like missing studs, uneven walls, or concealed wiring. Professionals complete the same work faster because they have encountered these situations repeatedly and carry the right tools and materials to address them. Understanding what happens during a professional bathroom remodel helps set realistic expectations for mirror installation as part of a larger project.
Getting Your Mirror Installation Done Right
Successful mirror installation balances aesthetic goals with practical constraints. Your lighting positions, medicine cabinet locations, wall condition, and vanity dimensions all influence the final design. Planning these elements together rather than in isolation creates bathrooms that function well and look professionally finished.
Expert Guys Construction LLC handles mirror installation as part of complete bathroom renovations or as standalone projects. Our team coordinates electrical work, wall preparation, and precise mounting to deliver results that enhance your daily routine. Whether you need simple mirror hanging or complex custom work around existing fixtures, proper installation makes the difference between a feature that frustrates and one that performs beautifully for years.
If your bathroom needs mirror installation around challenging lighting or cabinet configurations, reach out to discuss your project. Call +18457161595 to schedule a consultation and get expert guidance on the best approach for your space.